MIDI Editor Menus
From CockosWiki
Main Page > Reaper Documentation > MIDI Editor
Contents |
File Menu
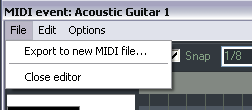
Export to MIDI file
Exports active MIDI track to a file.
Close Editor
Closes the REAPER MIDI editor, and returns you to the main REAPER window.
Edit Menu
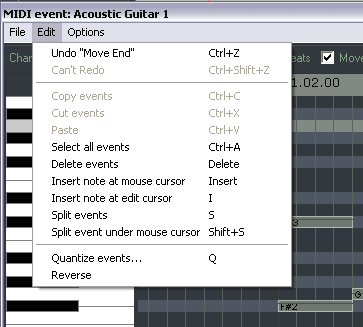
Undo, Redo, Copy Events, Cut Events, Paste, Select All Events, Delete All Events
These features work exactly as described on all selected MIDI notes.
Insert Note at Mouse Cursor
A very quick way to insert notes (using the Insert key). Inserts new notes (according to the current Snap values) wherever your mouse is hovering.
Insert note at edit cursor
Similar to Insert Note at Mouse Cursor, but positions new notes at the Edit Cursor.
Split events
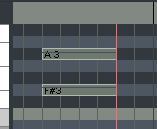
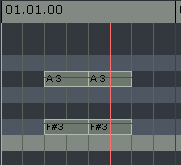
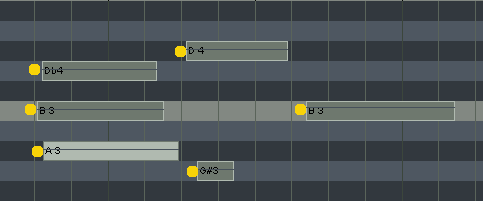
Splits the notes at the edit cursor. If no notes are selected, all the notes that are under the edit cursor get split at the same time. Bbefore split:
Cursor over midi notes, none selected, split
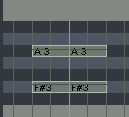
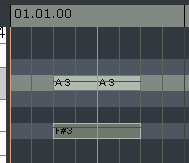
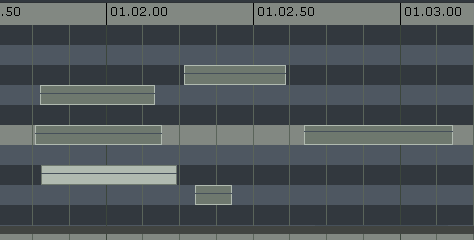
Closer up
If a note is selected, it is the only note that is split.
Split event under mouse cursor
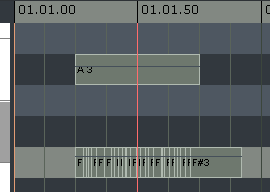
Splits anything under the cursor according to the snap. (Also Shift+S)
if you take the snap off, its easy to make tiny splits...
Quantize Menu
Click here for a more detailed view:
Reverse
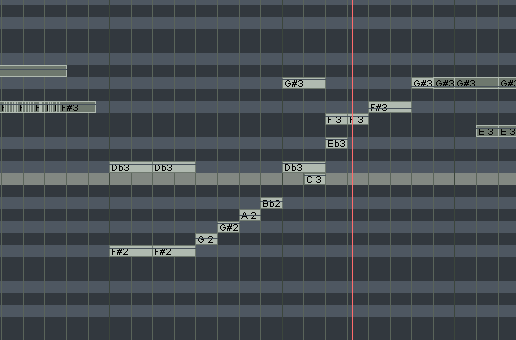
Reverse is quite simple:
Options Menu
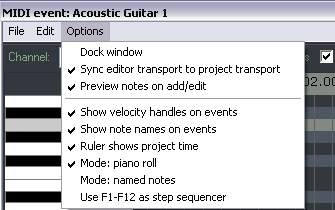
"Dock Midi Editor"
Positions the midi editor inside the Docker.
"Sync Editor Transport to Project Transport"
This connects the transport of the midi editor to the main project editor... if you want to preview just that pattern, you can uncheck this option, and just listen to that part. If you want them to be sync'ed just have it checked.
"Preview notes on add/edit"
This option is great for previewing single notes as you enter them. It plays whatever vsti or midi instrument is assigned to that track through the FX box or hardware routing (providing monitoring is on).
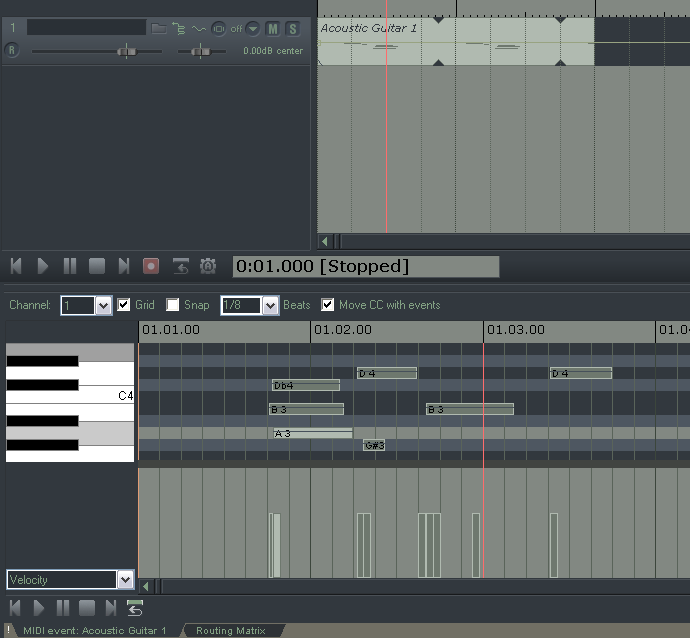
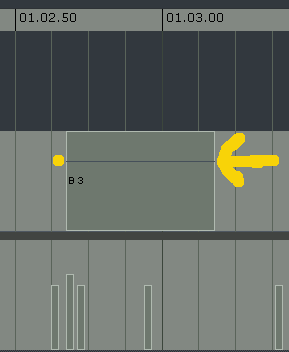
"Show velocity handles on events"
Determines if you have this line across each midi note that represents its velocity.
"Show note names on events"
on:
off
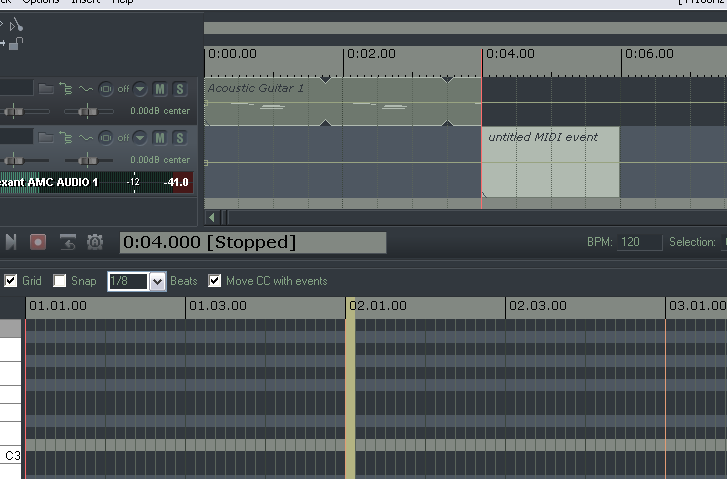
"Ruler Shows Project Time"
with this on, the ruler above the midi editor is the same as the ruler on the main project window. This can be helpful to keep track of exactly where you are in the main project if you are doing alot of midi editing. Having it off has the below result, which can also be helpful, but for smaller loops. Youll notice that even though the project cursor is at 4:00, the midi editor is at 1.
"Mode: Piano Roll"
This uses the standard, white/black keys view.
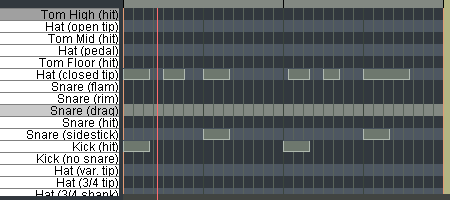
"Mode: Named Notes"
(only works when using a vsti that reports note names, such as in this example, Fxpansion's BFD)
"Use F1-F12 as step sequencer"
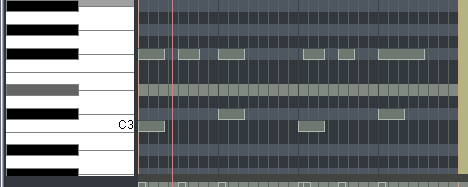
When Use F1-F12 as step sequencer is selected, the Function keys F1 through F12 can be used to enter notes. The Function keys are mapped to the 12 Semitones of an Octave, with F1 having the lowest pitch and F12 having the highest pitch.
The starting pitch for F1 is determined by the location of the highlight bar. In the example above, the starting pitch for F1 is C5. F5 has been pressed in sequence, creating an E note. By using the NumPad keys to move the position of the highlight bar and Edit Cursor, and the Function keys to enter notes, complete arrangements can be quickly created using the Keyboard alone.
Normally this mode will also advance the cursor according to the snap settings, in other words, if you press F5 normally in that example, it will advance 1/8 of a beat since that is the snap setting. You can bypass this though and not advance the cursor by holding "shift" and pressing the Fkey you want.
