Edit Menu Bar
From CockosWiki
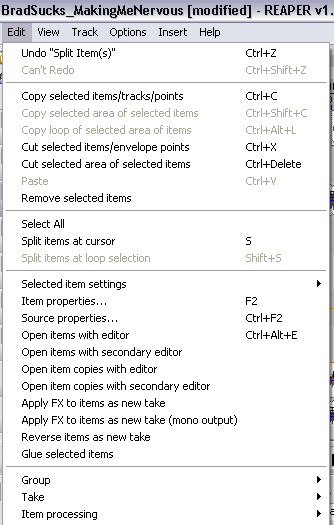
Picture:
Undo/Redo
obvious :)
Copy/Cut/Paste/Delete
Copy Selected Items/Tracks/Points
This copies just about anything you have selected! You can even copy envelope points to another section of any envelope.
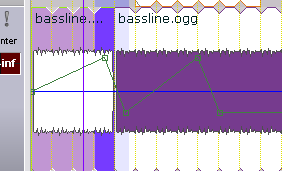
The below picture shows, on the left, the two original points, copied to further down the timeline.
Copy Selected Area of Selected Items
This will copy from the items and loop region selected. You can select as many items and as large or as small a loop region as you want, it will copy it ready for pasting into whatever track you wish.
Copy Loop of Selected Area of Items
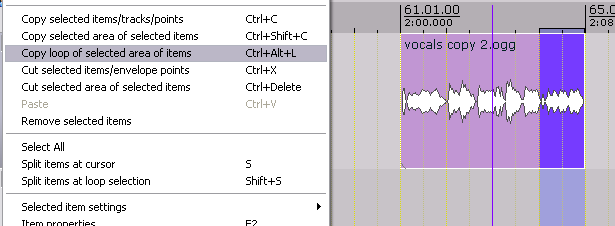
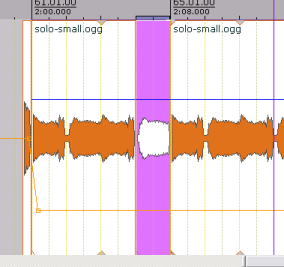
Same thing as above, however it copies it as a loop, so when you paste it, it loops that selection by itself. See the picture below:
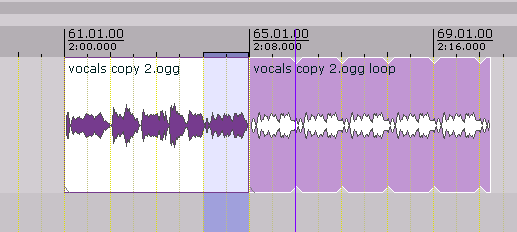
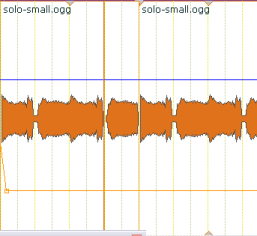
Next we will paste it directly after that and pull the loop out 5 or so bars simply by left clicking the pasted item and dragging it out:
Cut Selected Items/Envelope Points
This will remove the Items/Envelope Points so you can paste them somewhere else.
Cut Selected Area of Selected Items
This will cut from the items and loop region selected. You can select as many items and as large or as small a loop region as you want, it will cut it ready for pasting into whatever track you wish.
Paste
Remove Selected Items
Basically a non-destructive delete, it takes the selected item out of the project. You can also use the "Delete" key for this function.
Select/Split
Select All
This will select all of the items in a project.
Split Items at Cursor
Sometimes known as "Trim", this command splits an item where you put the edit cursor. It then becomes two seperate items.
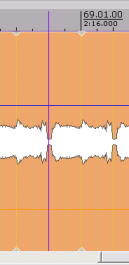
Before:
After:
Split Items at Loop Selection
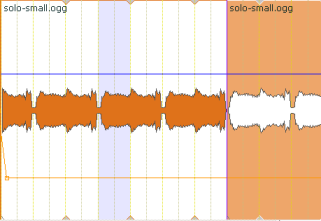
Similar to the command above, however this will split at both sides of a loop region on the selected track. Here is what this looks like after:
As you can see, it was split on both sides of the loop, and became three seperate items.
Items
Selected Items Settings
Opens up the Selected Items Settings
Mute
This silences the item. It wont delete or change the audio, just stop it from playing.
Allow Length/Change With Project
This allows the item to be stretched when the project BPM changes. You probably want to use this for MIDI and Audio loops.
Invert Phase
This will invert the phase of the item. The rest of the track will be unaffected.
Item Channel Mode
Normal
Normal, Stereo mode. The item will come through in stereo, if it is a stereo file. If it is a mono file, it will come through in mono.
Reverse Stereo
If it's a stereo file, this will reverse the channels.
Mono (Downmix)
This will sum both channels and play the item in mono.
Mono (Left)
This will play only the left channel of the item.
Mono (Right)
This will play only the right channel of the item.
Item Properties
This will open up the Item Properties Box.
Open Items with Editor
Will open the item in your primary editor. It will destructively edit the file. To configure your editors, go to the External Editors Preferences.
Open Items with Secondary Editor
Will open the item in your Secondary editor. It will destructively edit the file. To configure your editors, go to the External Editors Preferences.
Open Item Copies with Editor
Will open a copy of your item in your primary editor. It will edit the copy. To configure your editors, go to the External Editors Preferences.
Open Item copies with Secondary Editor
Will open a copy of the item in your Secondary editor. It will edit a copy of the file. To configure your editors, go to the External Editors Preferences.
Apply FX to item as New Take
This will take the track's FX and apply it to the current item. Afterwards, it will add it as another take. You can easily switch between takes using the "T" button. To take the edge off of the CPU usage, you can turn the fx off on the track, or bypass the items with an automation envelope.
Apply FX to item as New Take (Mono Output)
Same as "Apply FX" but has a mono result.
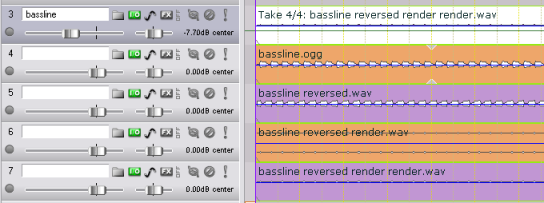
Reverse Items as New Take
This will create a new take that is a reversed version of the original item. You can always switch back easily by switching takes.
Glue Selected Items
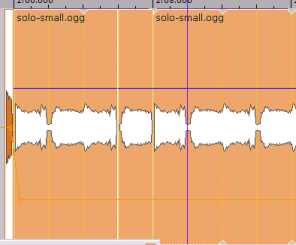
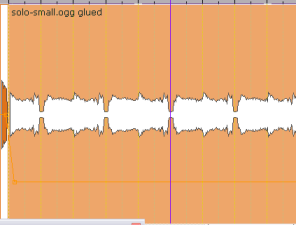
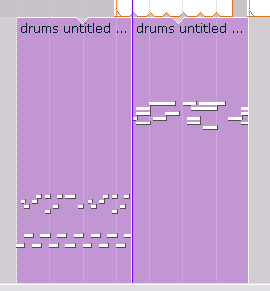
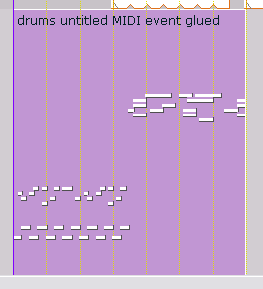
This will put together 2 or more selected items. It will create a new file with the suffix of "Glued". You can do this with midi or audio items. FX will not be processed.
Audio files:
MIDI files:
Last Section
Group
Group Selected Items
This will group the items together so you can move them together.
Remove Selected Item(s) from Group
Whatever items you have selected for this command will be exempt from their group(s) and will be able to move independently.
Select all of Selected Item's Groups
If you have an item selected, and it is in a group, and you select this command, it will select the other items in the group as well.
Take
Next Take
This cycles through takes to the next one.
Previous Take
This cycles takes to the previous ones.
Delete Active Take
Whatever take is active, or on top, will be deleted.
Crop to Active Take
This deleted all takes except the active one (the one on top).
Explode all Takes to New Tracks
This will create new tracks for each new take within your item.
Item Processing
Normalize Selected Items
normalize is a tool for adjusting the volume of audio files to a standard level, the standard level in this case is Maximum -- finding the highest peak level and adding the difference betwen that and 0dbfs to the entire file.
Normalize Selected Items (Common Gain)
Same as above but instead of doing each file individually, it calculates "0" from whichever files you select. The highest peak of all of those items will be used as the highest peak for ALL of them.
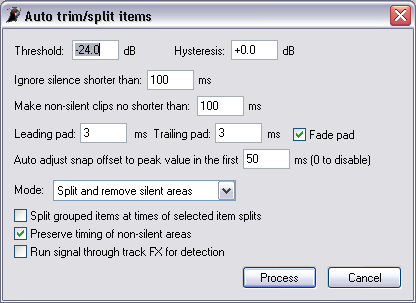
Auto Trim/Split Selected Items
Along a similar vein, click here for pipeline audio's tutorial video for Semi Automatic Drum Editing
Quantize Item Positions to Grid
This will move the start positions of the selected items to the nearest grid markers.
Move Items to Source Preferred Position
This command utilizes the BWF text chunk if it is present and will return the file (if it has been moved) to the positon the BWF chunk specifies. More info on BWF [here].
