Splitting and Editing Out Silence
From CockosWiki
Main Page > REAPER Documentation > Tips & Tricks
This page needs updating.
Please update the page (How to edit a page?)
If you have updated the page, or examined it and found the information up-to-date, please remove this box.
Splitting/Deleting
Let's say you have a file, like a speech (or of a surreptitiously taped conversation between crooks), where you want to edit out the silent parts in between phrases. There are two main ways to do this, but let's take a look at one of them, which is splitting and then manually moving the pieces together.
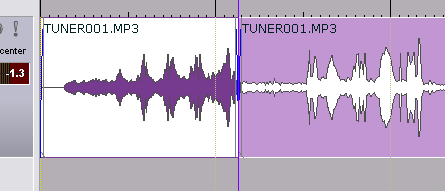
You put the edit cursor over the track on the spot after the talking stops, then you press "S". You will see the item becomes TWO separate items:
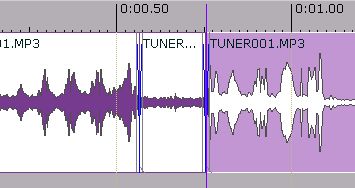
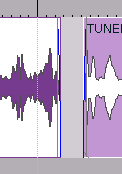
So we split at the beginning of the silence, then we find the end of the silence by listening closely, perhaps zooming in on the item a bit. When we find the end, we split again at that end. It now becomes THREE seperate items.
Now there are two ways to go from here:
Method 1:
- You can delete the middle part by pressing "delete" after selecting the middle item.
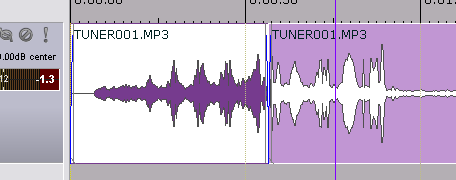
- You can then drag the later part back to the left so that it abuts the first one.
- You may want to change your snap settings so that media items "snap" to each other.
Method 2:
Or you can use ripple editing.
- Look in the upper left hand corner of the main view of REAPER.
- See this icon:
 It is the ripple editing icon. Right now, in this state it's off. However, if you click it once, it will enable it for this track and become this icon:
more info on ripple editing HERE.
Now, if you were to delete an item the other items would slide into place.


