EvilDragon's Color Toolbar v2.5
From CockosWiki
Main Page > REAPER Documentation > REAPER Tips & Tricks
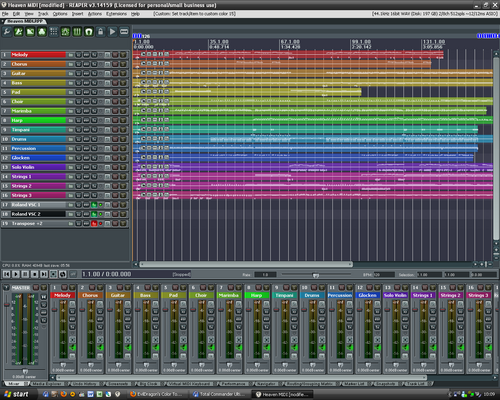
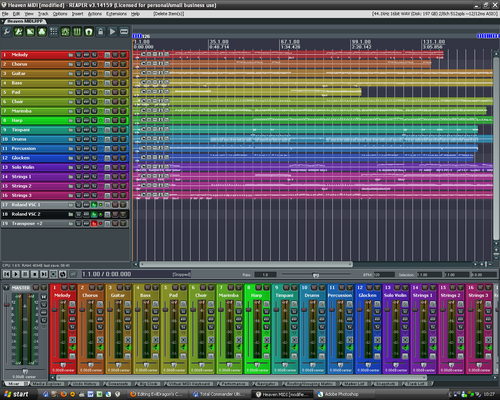
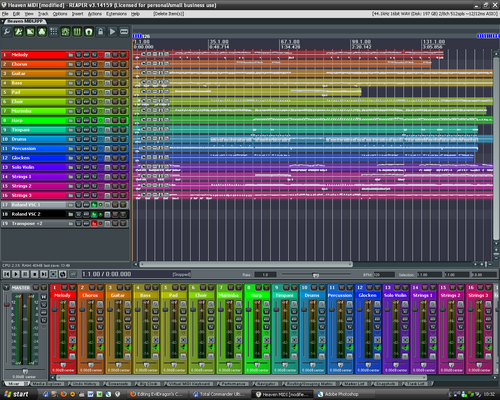
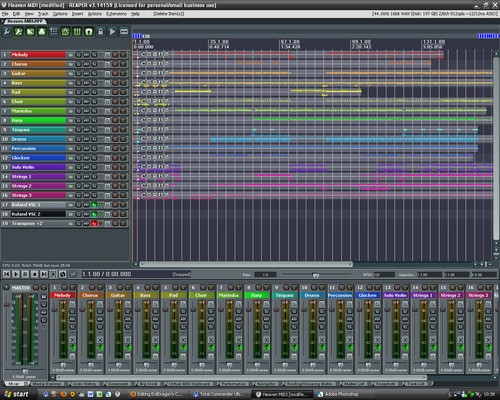
This enhancement will make coloring tracks and items much easier! No need to scroll through the right-click context menu, just have this toolbar open at all times (or call it via keypress at your mouse cursor, if you will!) and it will work on the current track and/or item selection, it's context sensitive!
Here's how to do it. NO PYTHON NEEDED ANYMORE! You only need to have SWS extension installed (from v1.4.0 #1 onward)!
- Download the attached ZIP file.
- Run Reaper, then open the Actions list by pressing '?' key, search for "resource". Now run "Show Reaper resource path in explorer" action. (You can also do this with Options->Show Reaper resource path in explorer/finder.) Unzip the downloaded folder to THIS folder! The icons, keymap and menuset file will unpack where they need to be.
- Open Actions list again, then press "Import/Export..." button and select "Import..." Now navigate to your KeyMaps folder, then load up Color Toolbar Actions.ReaperKeyMap.
- Now go to Options->Customize toolbar... Bear in mind that I used TOOLBAR 2 for these icons. If you have toolbar 2 already taken, then you need to go to the folder in which you installed Reaper, and check inside MenuSets folder, open Color Toolbar.ReaperMenuSet file, and change the number inside the brackets. For example, if you have toolbar 4 free, change [Floating Toolbar 2] to [Floating Toolbar 4].
- Now go back to REAPER's Customize toolbar... and load up the Color Toolbar.ReaperMenu file. It should be located in your Reaper\MenuSets folder, unless you moved MenuSets folder to your %appdata%/REAPER folder (where menuset files usually reside, on Windows)
- After you loaded the toolbar, save it, and then open the Color Management window by clicking the Palette icon on the toolbar you've just created (the last one on bottom right). You can use the toolbar, or you can open the Actions list, and search for "SWS manage" to find the command. We need to load our custom colorset in there. The file is located inside the REAPER\ColorThemes folder, if you unpacked the ZIP file directly in your REAPER folder.
- That's all, folks!
v2.5 UPDATE: I have renamed the icons, because I noticed that if you put "toolbar_" at the beginning, Reaper will recognize the icons even if they are found inside a theme folder or .ReaperThemeZip file! Yes, that's right! Now you can modify my icons for the color toolbar and PACK IT WITH YOUR THEME!!! for all the other users to enjoy, and to make the icons fit to your theme! You just make sure that THE NAMES ARE EXACTLY THE SAME, and hopefully it should work! Good luck!
There are various options in REAPER to control how these colors should be used. Some users might wish to set this differently, depending on their tastes. There are a lot of combinations, but most common ones will be shown here. My settings are like this (left: right: Properties->Appearance; right: Properties->Appearance->Media):


