ASIO
From CockosWiki
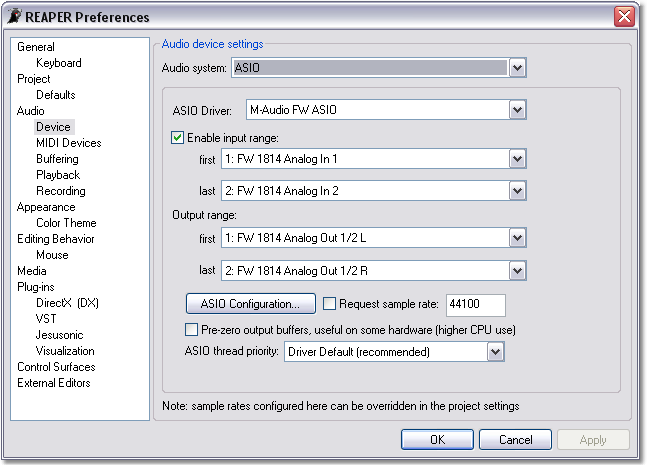
| ASIO Driver | Click on the down arrow to select the ASIO driver. |
| Enable input range | ASIO inputs are enabled by default. Clearing this check box will disable the inputs on your ASIO device, which can lower the load on your CPU. |
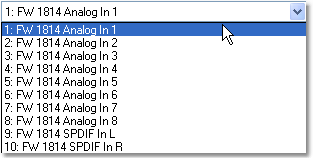
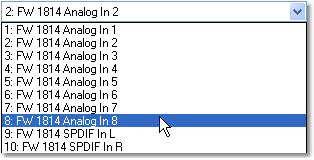
| first | In REAPER you can specify which of the available Inputs can be accessed within the program. For example, if your ASIO device has ten Inputs, you could restrict the range of available Inputs to 4 by selecting Input 1 as the first Input in the range and Input 4 as the last Input in the range.
Click on the down arrow to select which Input to use as the first of the range. |
| last | Click on the down arrow to select which Input to use as the last of the range. |
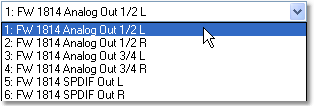
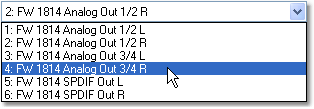
| Output Range | The Output range section operates in the same way as the input range section, allowing you to choose which ASIO outputs are accessible within REAPER. |
| first | Click on the down arrow to select which Output to use as the last of the range. |
| last | Click on the down arrow to select which Output to use as the last of the range. |
| ASIO configuration | Click this button to open the Control Panel for your ASIO driver. |
| Request Sample Rate | Select this check box to request the sample rate of your audio device br the sample rate you have entered in the field. If this option is not checked, then the soundcards current or default sample rate will be used. Refer to the User Manual for your audio device for acceptable sample rate values. Note that this setting can be overridden by the Project Sample Rate (File > Project Settings (Alt+Enter) > Audio Settings > Project sample rate), so this is only used if no project sample rate is set. |
| Pre-zero output buffers, useful on some hardware | This option tells REAPER to zero the output buffers of the hardware BEFORE rendering to them, which on some hardware can reduce "stuck buffer sounds" in certain instances. If you do not hear anything wrong, leave this option disabled (since it uses extra CPU). If you have occasional blips in your output, you can try enabling this. This option is especially useful for RME hardware. |
| ASIO thread priority | Click on the down arrow to select the priority for ASIO threads.
Setting a higher Thread Priority will force REAPER to process audio ahead of other tasks (e.g. drawing graphics). In general leaving this at the "driver default" is a good idea, since the driver should know best how to prioritize itself. |
